Configuring RADIUS
We enabled the RADIUS protocol after creating the certificates. Now we will create a Network Client that uses it. Note that WiKID is not a "RADIUS server" like NPS or Freeradius , but it talks the protocol and in the language of RADIUS it is a "server" to "clients". A client could be your RADIUS server.
Each network client must be configured on the WiKID Strong Authentication Server before it will allow the client to request validation.

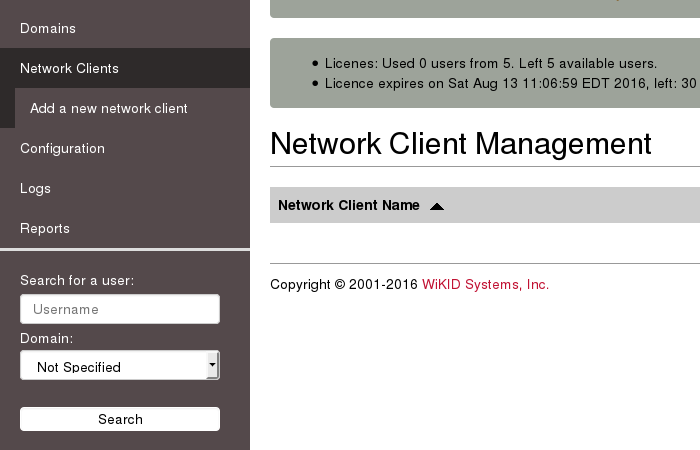
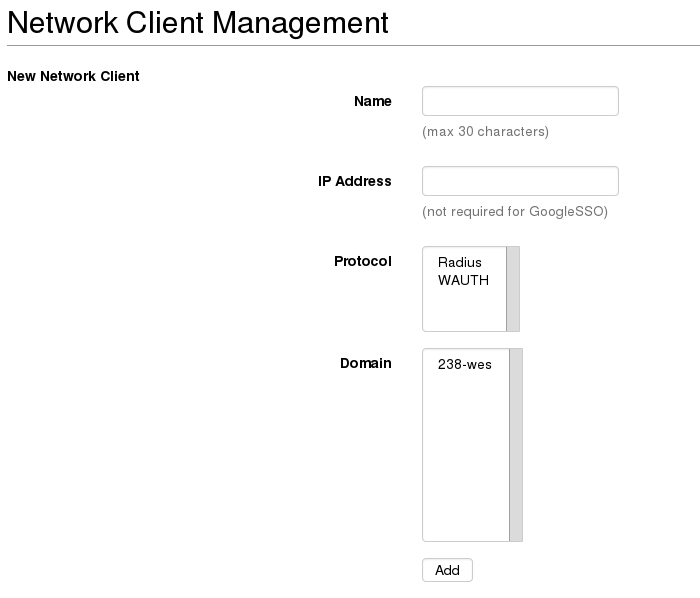
Select – Create new Network Client - to begin adding a network client. You will be presented with a screen similar to Figure 19 below.

These are the general network client properties. These values are required for each network client configured, regardless of the protocol selected. Property definitions are:
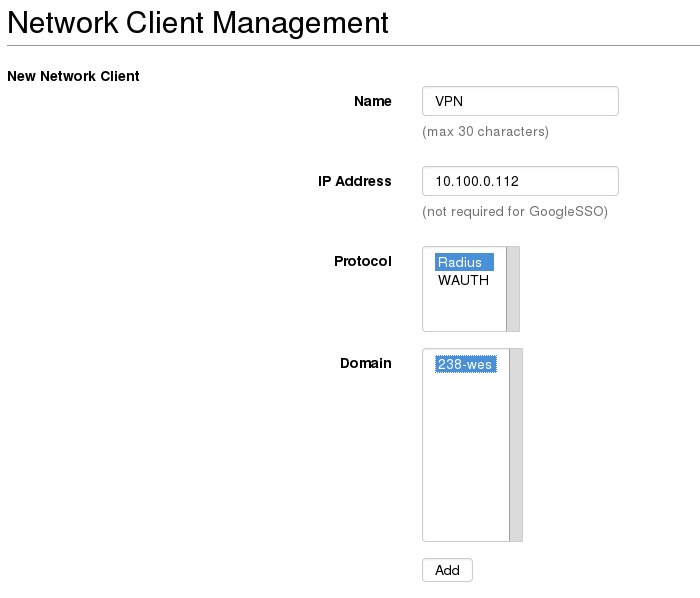
Name – The descriptive name of the server. This will be the primary display name in the administrative system and in system logs and reports. It is recommended that you use a combination of hostname, and WiKID domain for clarity.
IP Address – The IP address of the network client.
Protocol – The communications protocol used by this network client. Only protocols previously enabled will be available. The protocol selection will dictate the additional properties that must be defined for this client.
Domain – This is the WiKID authentication domain in which this client will request credential validation.
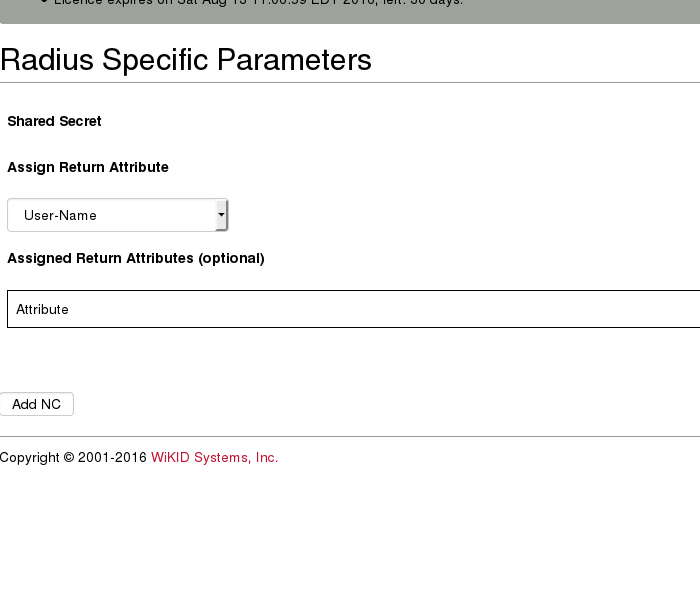
If you are creating a RADIUS network client, you will need to enter a shared secret. You may also enter additional parameters as discussed above.

On the next page, you will be asked for RADIUS specific parameters. The onle required one is the shared secret, which much match the shared secret entered on the radius client (your VPN or radius server). Do not create any Radius return attributes, unless you know you need them and have configured them on the radius client.

We have now configured a two-factor domain, enabled authentication protocols and created network clients. All that remains is to enable users for two-factor authentication and test.
