Configure the WiKID Server
We assume you have both the Bomgar and the WiKID Strong Authentication Server installed and configured. Please download a free trial of the WiKID Strong Authentication Server.
In this example, the WiKID server has the IP address of 192.168.1.200 and the Bomgar is 192.168.1.100.
We assume that your WiKID server is setup. You need to add the Bomgar server as a RADIUS network client. Click on the Network Clients tab and Create a New Network Client:
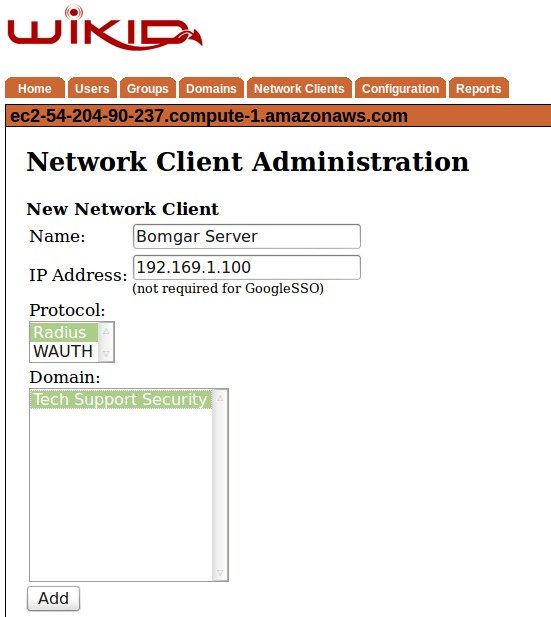
Give it a handy name and enter the Bomgar server's IP address. Click Add.
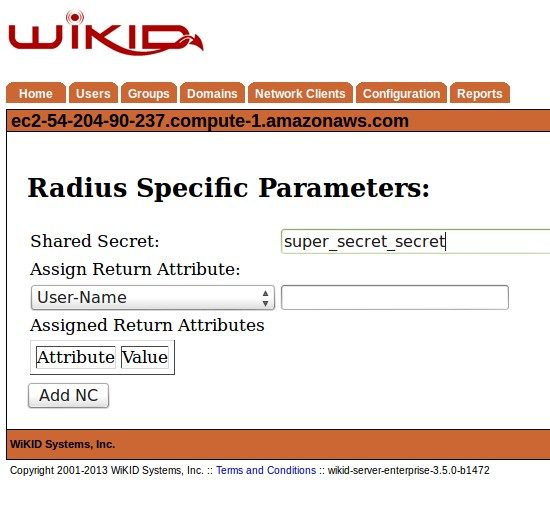
Enter the shared secret and save it. That's it for the WiKID side.
Configure the Bomgar Server
Login to your Bomgar server and Select Users & Security. Click on Security Providers.
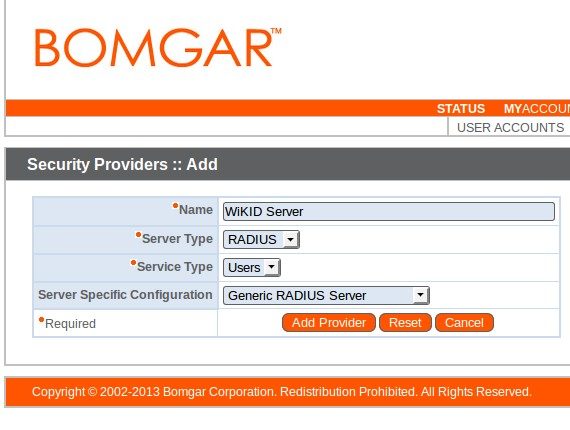
Give it a name, specify RADIUS, Users as the service type and Generic RADIUS Server. Click Add Provider.
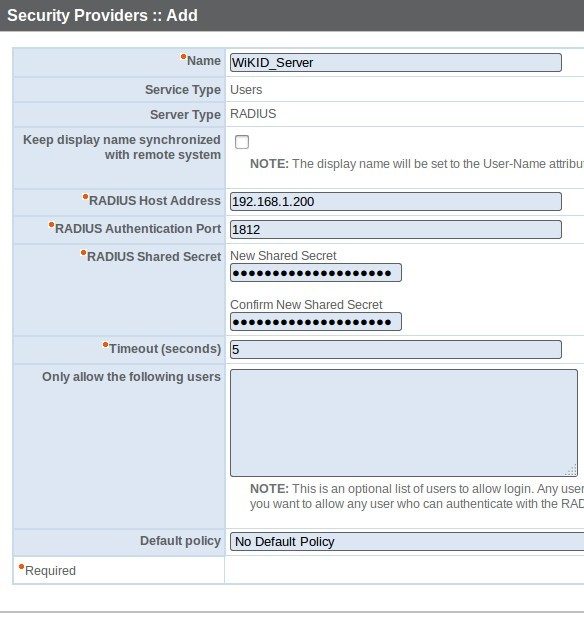
On the next screen, enter the IP address or domain name of the WiKID Strong Authentication Server. Double enter the shared secret that you also entered on the WiKID Server. Set any optional settings as you see fit. Save the changes.
Testing
Once you save WiKID as a security provider, you can test it. Click the link to Edit the WiKID server. At the bottom of the page, you will see a button labeled Test Settings. Click and a box for a username and password.
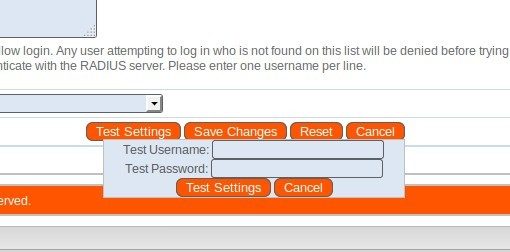
Get a new one-time passcode from the WiKID token and enter it (the PC token places it in the clipboard automatically) along with a registered WiKID username. The page will reload and at the top it should say "The Security Provider was successfully tested."
That's it. Note that this is a simple direct connection. Many companies will prefer to run their authentications through NPS/AD or Freeradius/OpenLDAP/etc to include authorization by the directory.
To learn more about Bomgar, please visit www.bomgar.com.
Download a free trial of the WiKID Strong Authentication Server today!.

