Kerio Connect is an "award-winning, low-overhead alternative to Microsoft Exchange". Here's how to add two-factor authentication to Kerio on Linux.
Configure the WiKID Server
We assume you have both the Kerio Connect and the WiKID Strong Authentication Server installed and configured. Please download a free trial of the WiKID Strong Authentication Server.
In this example, the WiKID server has the IP address of 192.168.1.104 and the Bomgar is 192.168.1.102.
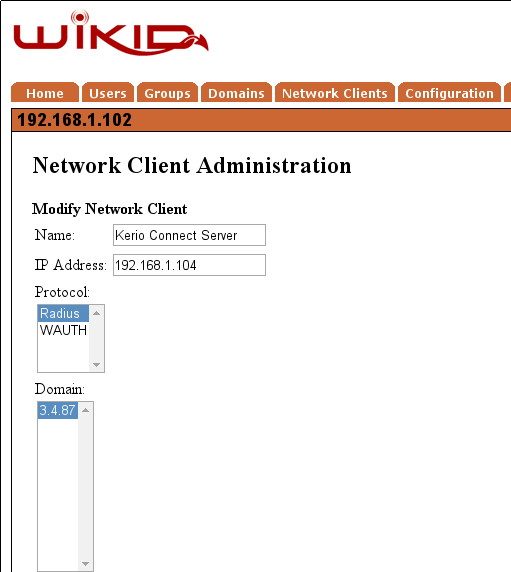
We assume that your WiKID server is setup. You need to add the Kerio server as a RADIUS network client. Click on the Network Clients tab and Create a New Network Client:

Give it a handy name and enter the Kerio server's IP address. Click Add.

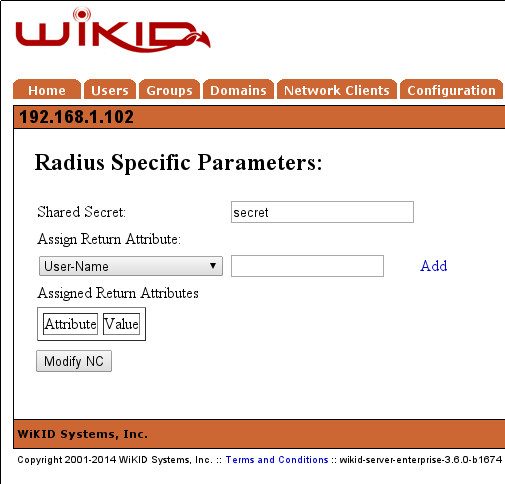
Enter the shared secret and save it. That's it for the WiKID side.
Configure the Kerio Server
Kerio Connect doesn't support RADIUS natively, but it does support PAM, so it's possible to use PAM-RADIUS.
First install pam-radius as per our instructions for Redhat/Centos or Debian/Ubuntu. Your /etc/raddb/server on Redhat/Centos or /etc/pam_radius_auth.conf on Ubuntu should point to the WiKID server's IP. Do not make any changes to /etc/pam.d/sshd. Instead, edit the file /etc/pam.d/kerio-connect and change the first line to:
auth sufficient pam_radius_auth.so
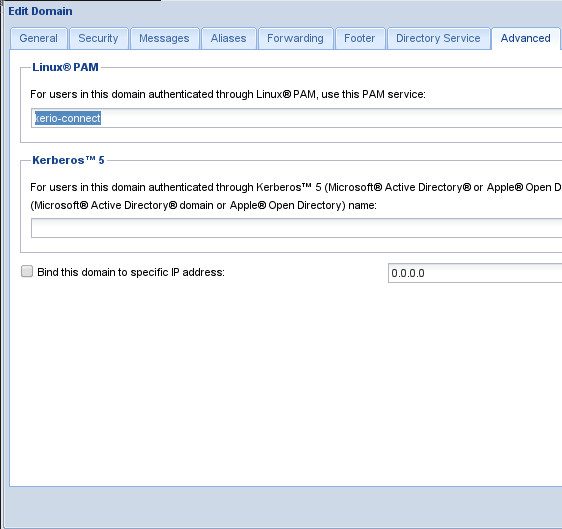
Save your changes. That's it for the command line. Browse over the Kerio Connect Admin interface listening on port 4040. Click on the configuration tab and then Domains. Double-click on the domain to get two-factor authentication and click on the Advanced tab. You will see a box for Linux PAM. Enter kerio-connect and click OK.

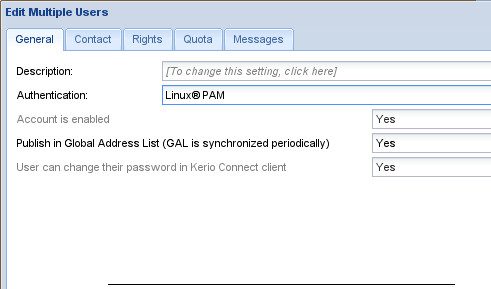
Next, head to the Users tab. Select all the users that are to get two-factor authentication and click the Edit but (or right-click and select Edit).

For Authentication, select Linux Pam.
If you haven't already, download a WiKID software token and register it on your WiKID domain and login!
