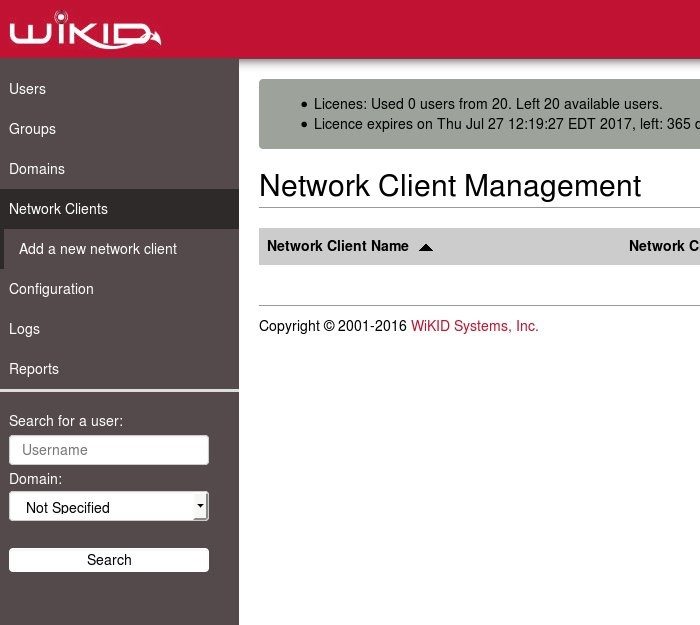
After you have downloaded the WiKID two-factor authentication server, installed it and configured it, you will want to add Network Clients. This can either be your RADIUS server if you are using freeradius or NPS (which we recommend) or a Cisco ASA or any VPN if you want them talking directly. On the WiKIDAdmin click on the Network Clients tab.

Click on Add a New Network Client.

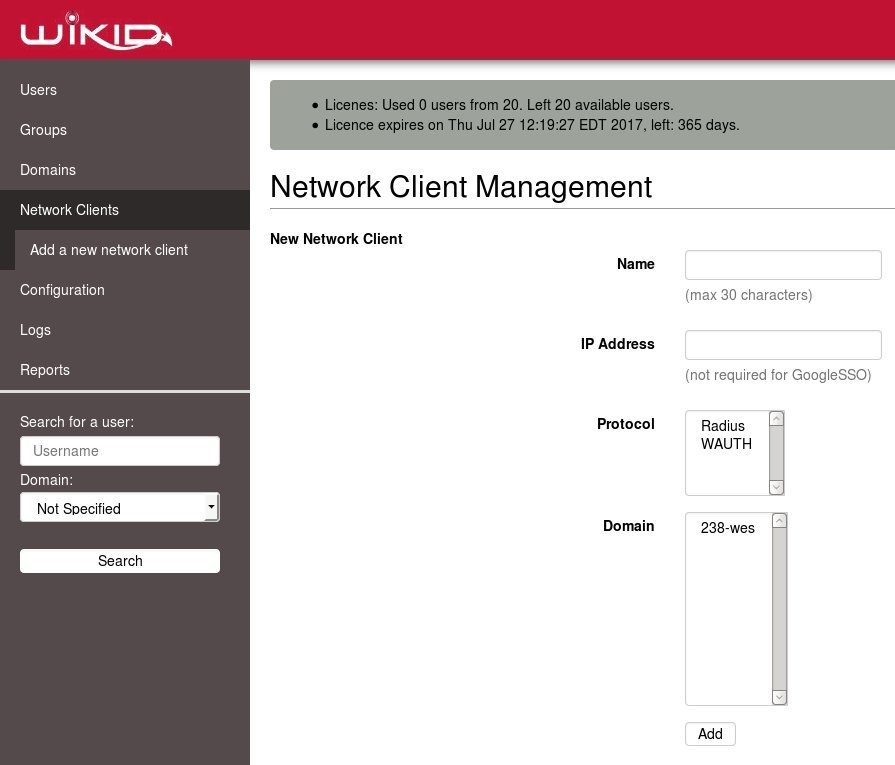
Give it a useful name, enter the IP address of the RADIUS server or the Cisco ASA depending on your setup. Select RADIUS as the protocol and select the WiKID domain to use. Click Add.

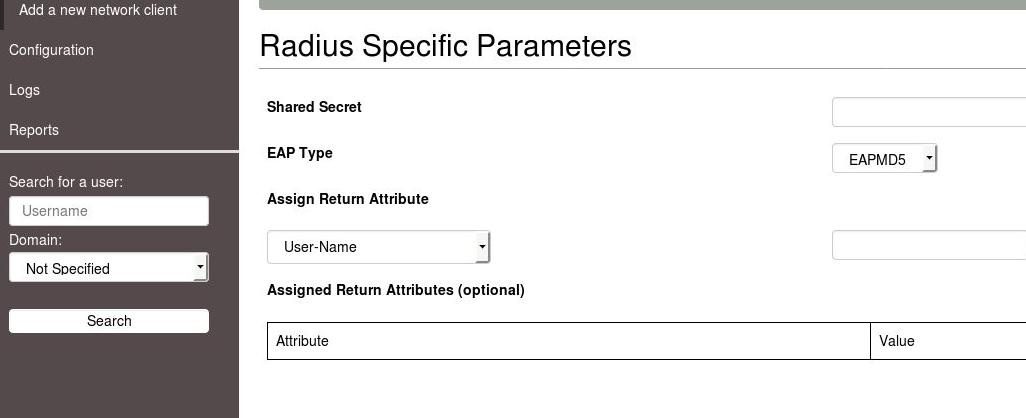
Enter the Shared secret. Remember this must match what is entered in the RADIUS server, VPN etc or WiKID will not be able to decode the RADIUS packets.
Click Add NC.
On the WiKID terminal run 'wikidctl restart'. This updates the RADIUS cache and if you are using our ISO virtual appliance opens up the firewall for the IP address of the network client. If you are using the packages, please open port 1812 UDP for the correct IP address.
